Last updated - July 10, 2026
This article is for districts that do not use Clever or ClassLink. If your district uses Clever or ClassLink, we will sync your sections and add your students to Skill Struck.
When you first sign in to Skill Struck, there are a few things you should do to get you up to speed. Creating a section, adding students, and assigning curriculum will put you in a good place to start the semester!
Table of Contents
How to Create a Section
How to Add Students to a Section
How to Assign Curriculum
How to Create a Section
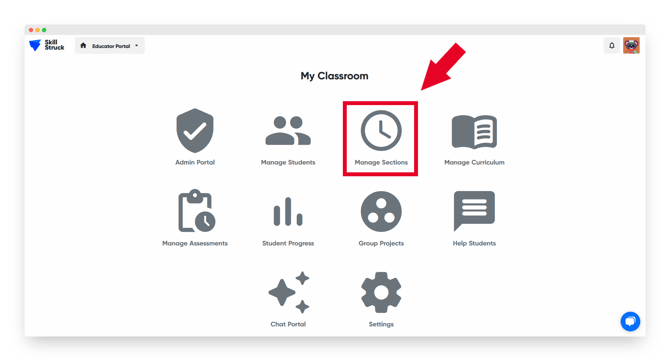
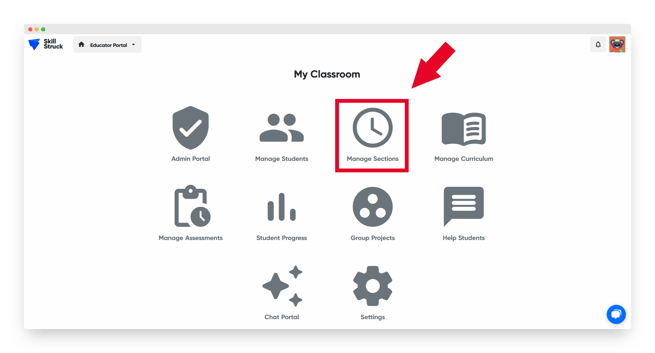
- From your Educator Portal homepage, click "Manage Sections."
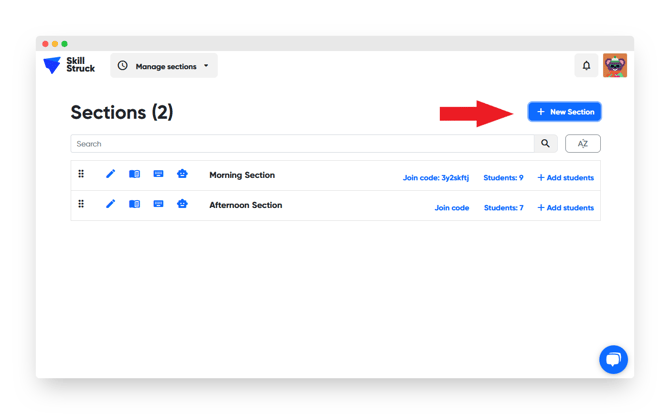
- Click the blue "+ New Section" button.
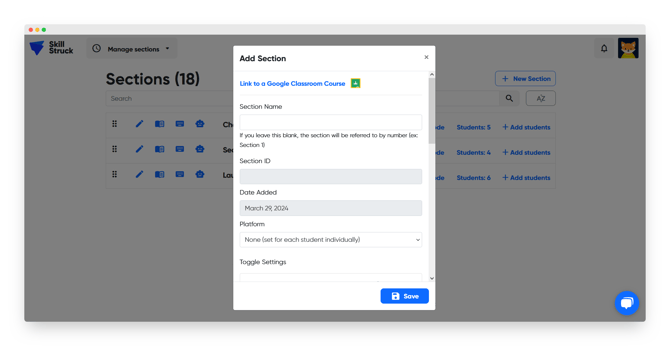
- Fill out the section name and select the platform you would like your students to see when they log in.
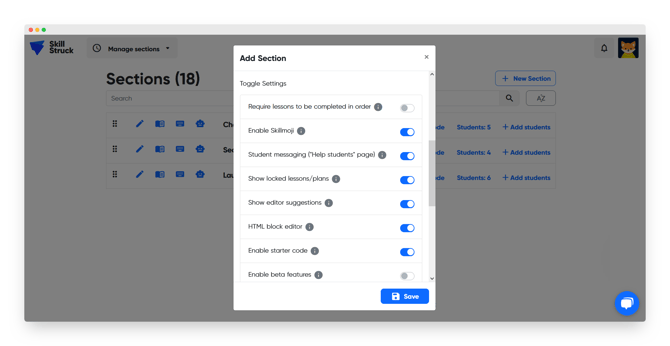
- Toggle the following settings:
- Require lessons to be completed in order
- Enable Skillmoji
- Student Messaging ("Help students" page)
- Show locked lessons/plans
- Show editor suggestions
- HTML block editor
- Enable starter code
- Enable puzzle builder sharing
- Disable external pasting
- HTML Validator
- Add the "Start date", "End date", "Grade level". The "Apply settings to all sections" and "Apply settings to specific sections" toggles are optional.
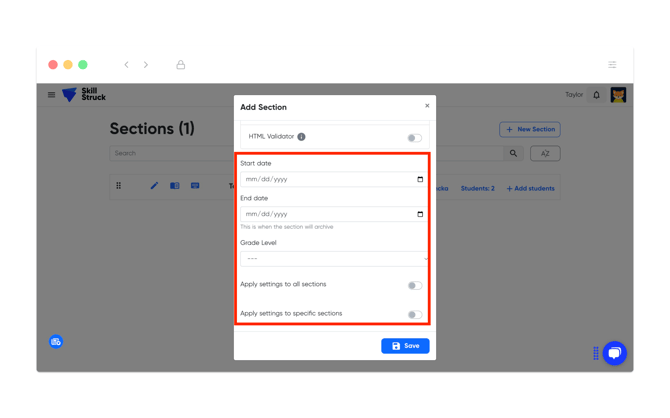
- Click the blue "Save" button.

Add Students to a Section
After creating a section, the next step is to add your students to Skill Struck! If your students have Gmail or Microsoft school emails, they can create accounts using the Join Link. If your students have a standard school email, their accounts can be created through the "Add Students" page.
How to Use the Join Link
- From your Educator Portal homepage, click "Manage Sections."
- Click "Join code" and "Create join code."

- Click "Copy Join Link."
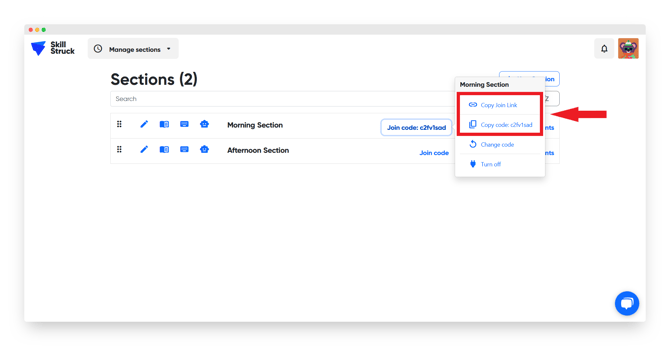
- Now you are able to share a Join Link with your students! Join Links can be pasted directly into the URL bar. This will take students to the Skill Struck login page.
How to Manually Create Multiple Student Accounts
- From your Educator Portal homepage, click "Manage Sections."
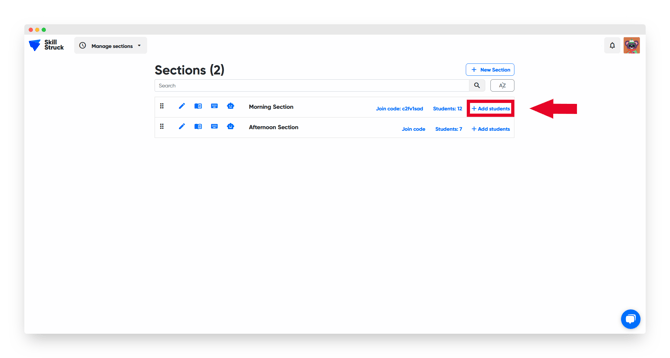
- Click "+ Add Students."
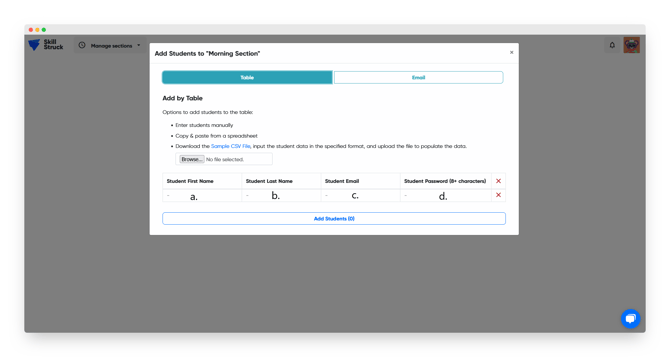
- Click "Table."

- Input the following information into the table:
- First name
- Last name
- Student Password
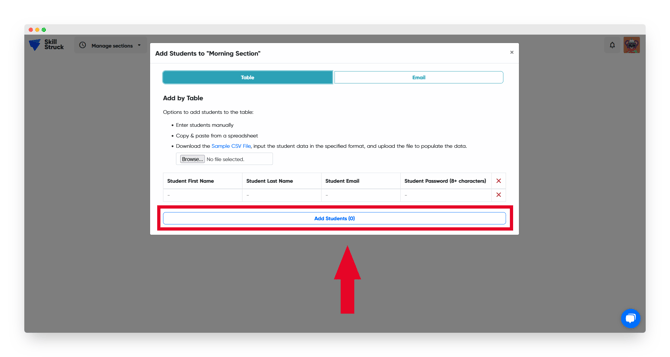
- Click "Add Students."
How to Add Students That Already Have Skill Struck Accounts
- From your Educator Portal homepage, click "Manage Sections."
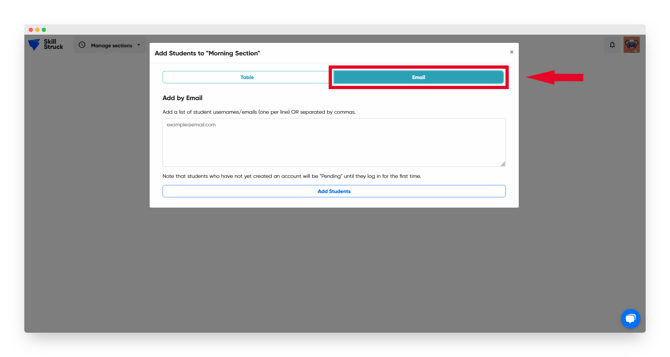
- Click "+ Add Students."
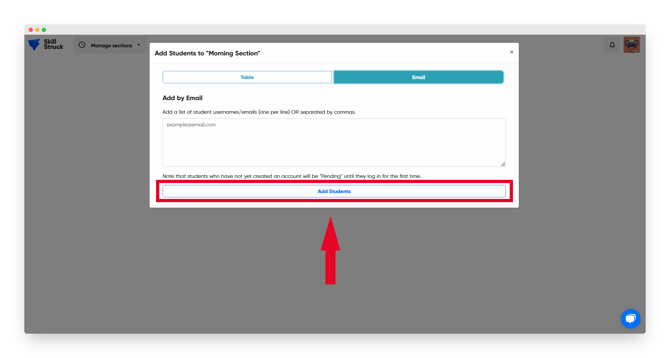
- Click "Email" and add student emails.
- Click "Add Students."
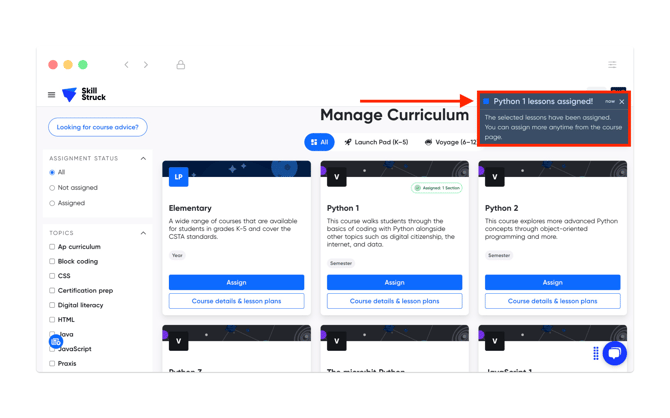
How to Assign Curriculum
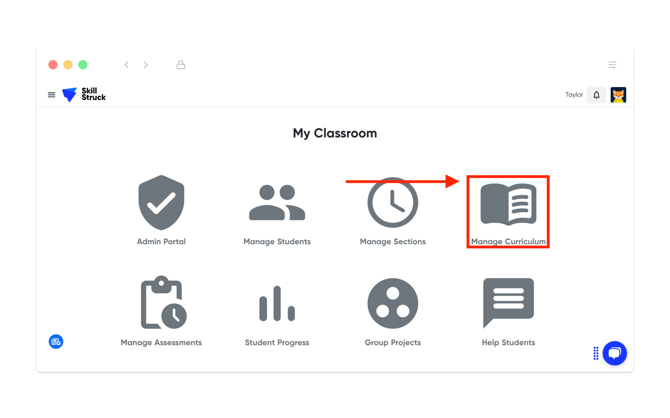
- Navigate to the "Manage Curriculum" page.
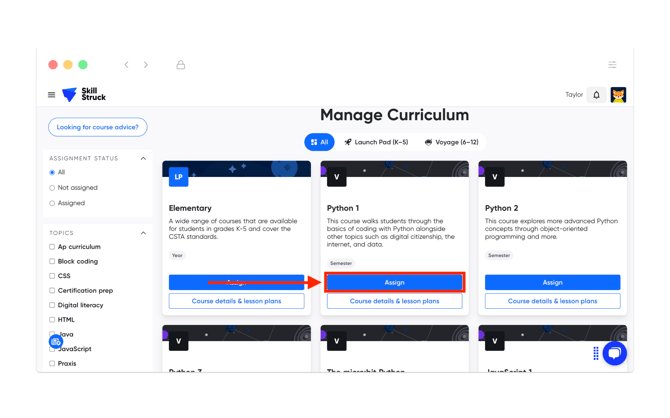
- Select a course that you would like to assign and then click "Assign".
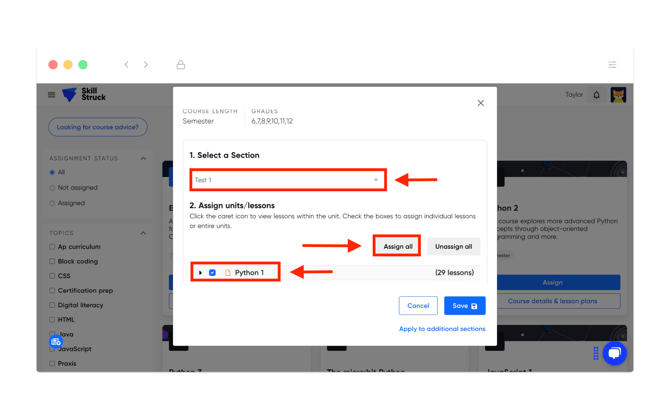
- From the selected course page, click on the drop down to "Select a Section" to assign the course to. You will also be prompted to "Assign all" of the units/lessons or by clicking on the arrow next to the course name you can select which units/lessons to assign.
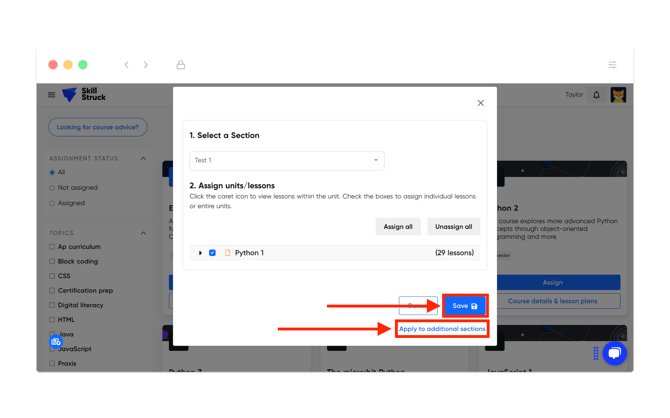
- The selected units/lessons can be applied to other sections as well by clicking "Apply to additional sections", however, this is optional. Once the selections have been made, click "Save".
- Upon successful completion a notification will appear on the Manage Curriculum page in the top-right corner.
For more information on assigning curriculum, please follow this article.