Last updated - July 10, 2026
You will need to contact your Skill Struck representative for the authentication information required to set up this integration.
How to Set up the Schoology Integration
- Sign in to your Schoology account, and navigate to the "App Center."

- Search for the "Skill Struck" app and select it.
- Click "Install LTI App."
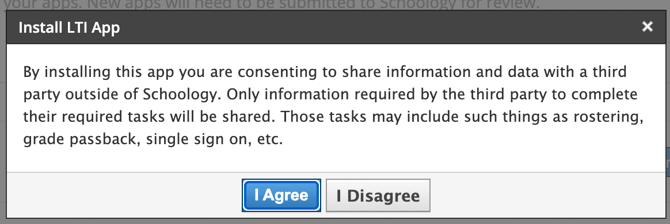
- Click " I Agree" to share data with a third party (Skill Struck).
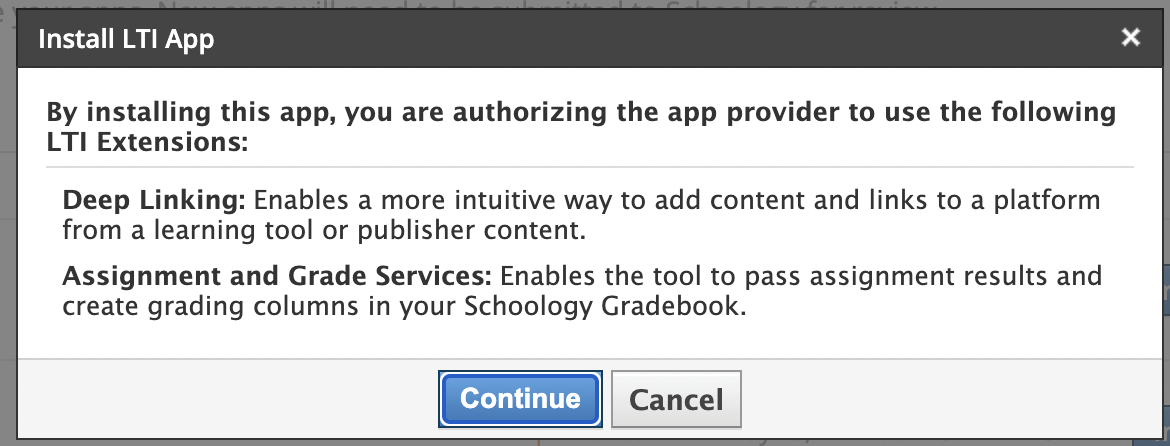
- Click "Continue" to authorize the app to use "Deep Linking" and "Assignment and Grade Services" (these are required for the app to create assignments and pass back grades to Schoology).
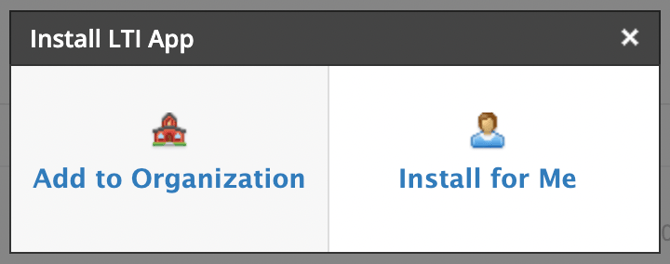
- Click "Add to Organization" to make this app available for everyone in your organization.
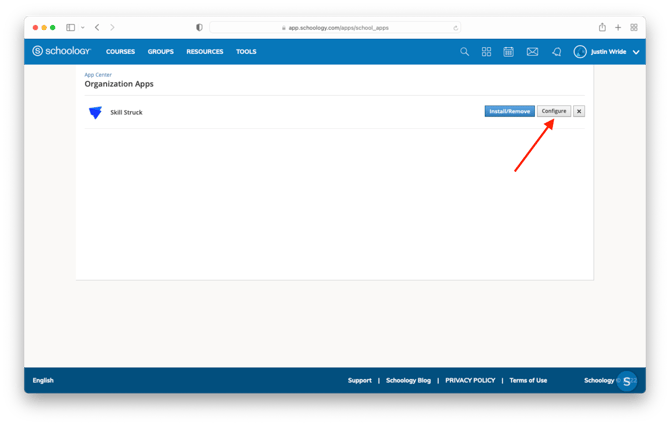
- Once this app has been added to your "Organization Apps", click "Configure" on the Skill Struck app
- Enter the authentication information provided by your Skill Struck representative:
- Paste the "Consumer Key" from Skill Struck into the "Consumer Key" field
- Paste the "Shared Secret" from Skill Struck into the “Shared Secret” field
- Leave the "Customer Parameters" field blank
- Click "Save settings."
- After saving the configuration, the app will be available for use. Teachers can now choose to install the Skill Struck app in their courses and begin to add assignments from Skill Struck, get grades back, and have students log in to Skill Struck directly from Schoology.
After completing the setup, click here to learn how to use the Schoology integration with Skill Struck.