Last updated - July 1, 2026
Setting the Curriculum for Robotics
The Robotics curriculum can be set through the Manage Curriculum settings. You can lock/unlock entire courses or individual lessons.
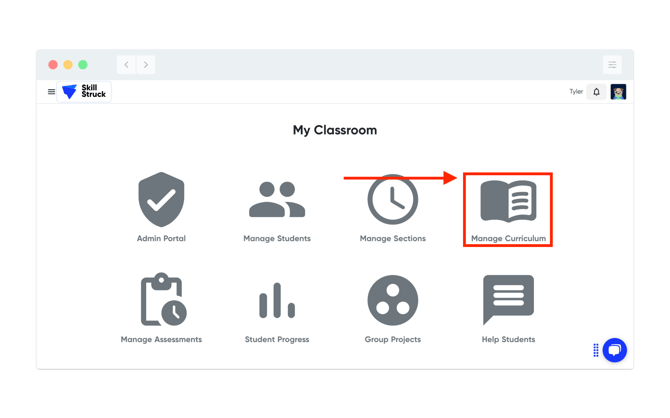
- Navigate to the "Manage Curriculum" page of your educator portal.
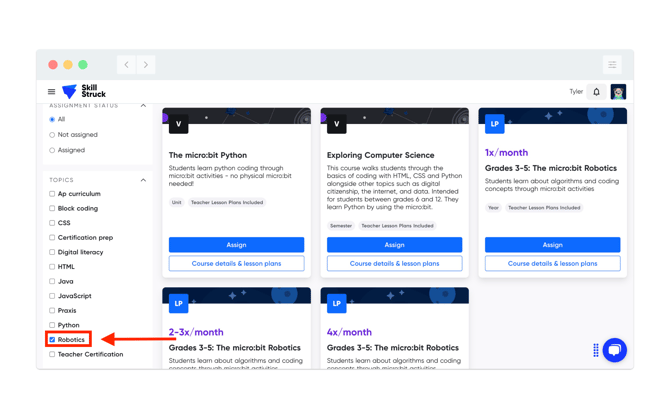
- To narrow down the search, click on "Robotics" on the left-hand navigation bar under "Topics". On the course cards, V is for our Voyage (secondary) platform and LP is for our Launch Pad platform (elementary).
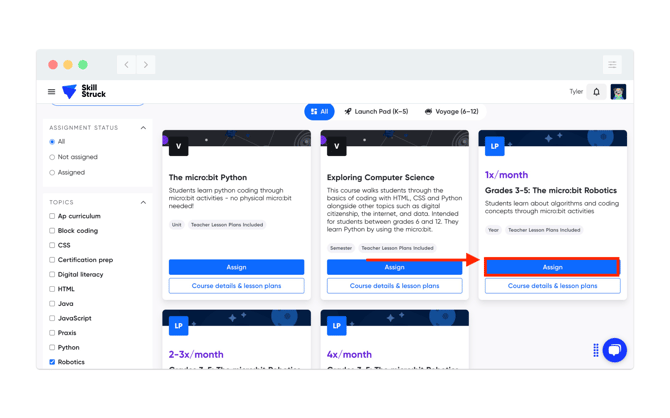
- From here, you can assign the Robotics course appropriate for your section(s).
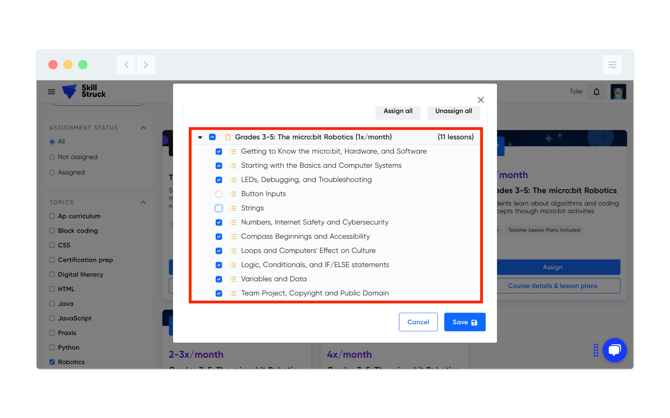
4. From the pop-up screen you will have the option to assign the curriculum to your section(s), the ability to assign the units/lessons (Assign all or Unassign all), or assign the units/lessons individually.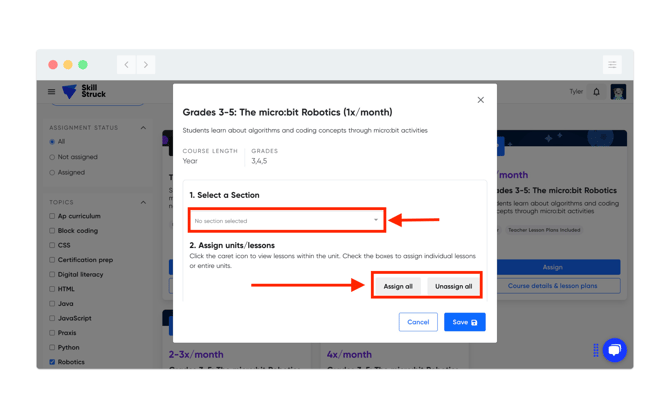
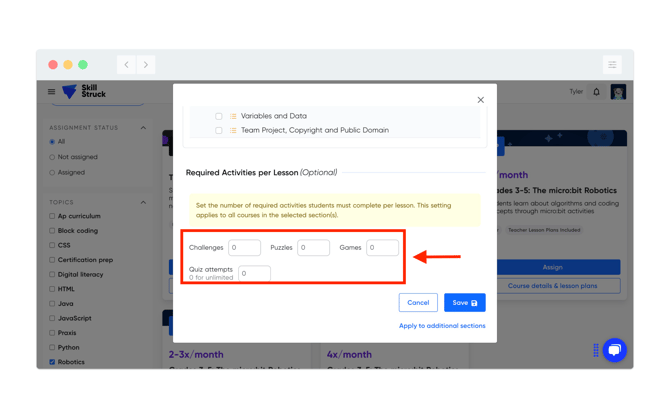
5. Under the "Required Activities per Lesson" section it is optional. However, this is where you can set the number of "Challenges", "Puzzles", "Games", and "Quiz attempts" for the assigned curriculum.
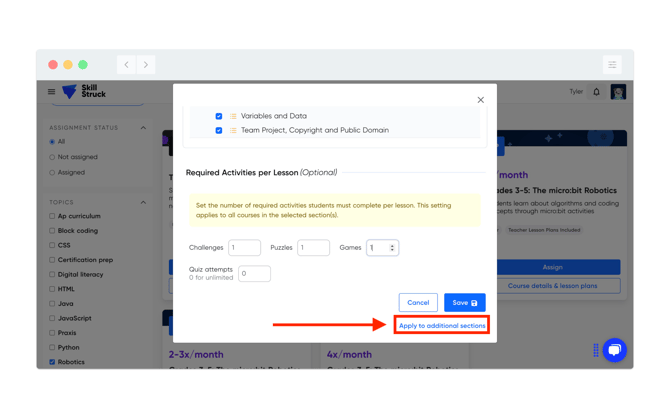
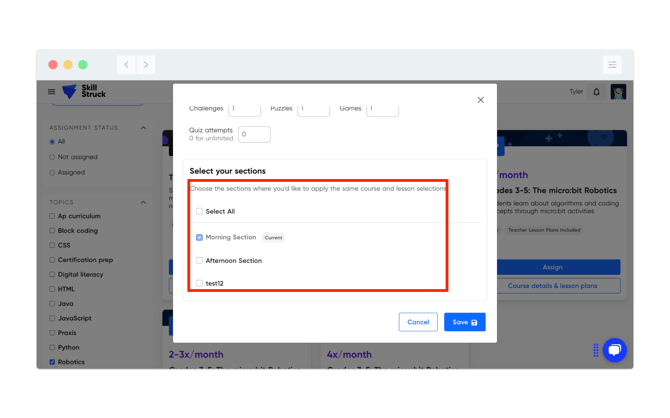
6. If you would like to apply these curriculum settings to multiple sections click on "Apply to additional sections".
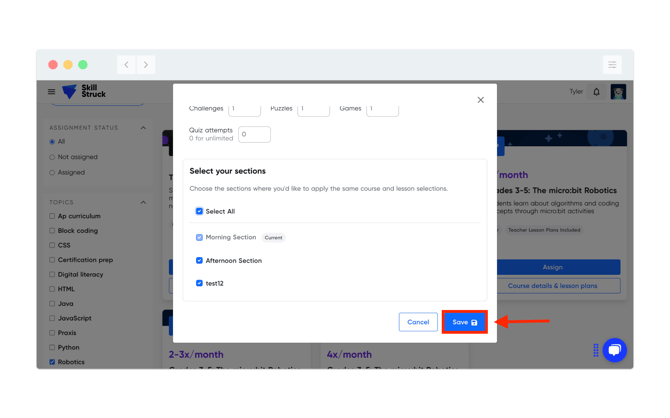
7. This will prompt you to select the sections to apply the course and lesson selection(s) to either all sections by clicking "Select All" or clicking each individual section.
8. Don't forget to click "Save".
9. Lastly, click "Yes, Apply to All Selected" on the pop-up screen.

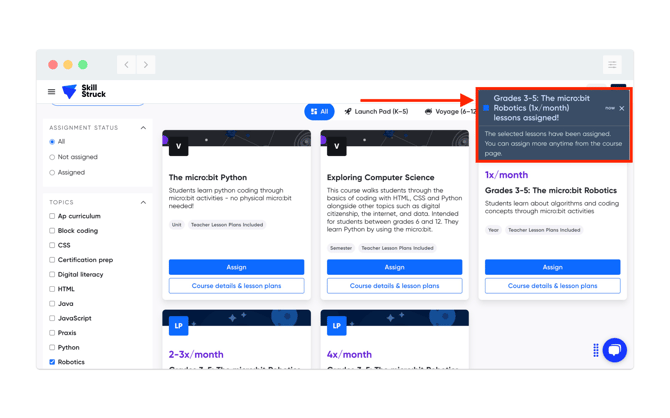
10. As confirmation of changes made you will receive a notification in the top right of your screen like this one below.