Last updated - February 11, 2026
Group projects in Voyage allow students to work together on a single project. Each student will need to create their own file in the project folder.
How to Create a Group Project
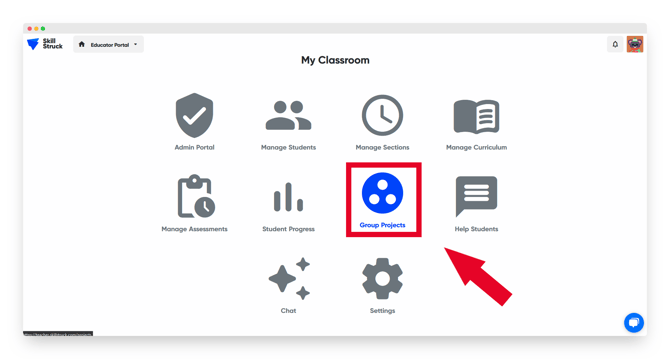
- Navigate to your Educator Portal homepage and click "Group Projects."
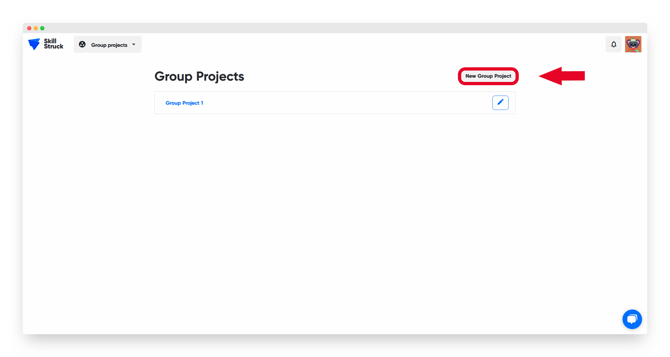
- Click "New Group Project."
- In the window that pops up, set the project name and number of groups you would like to divide your class into. Then click "Continue."
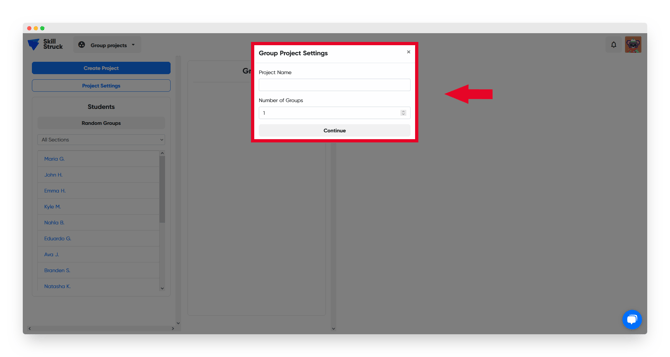
- From here, you are able to organize students into groups. To do this, drag student names to the groups you would like them in or click Random Groups. The "Random Groups" button will randomly assign each student to a group.
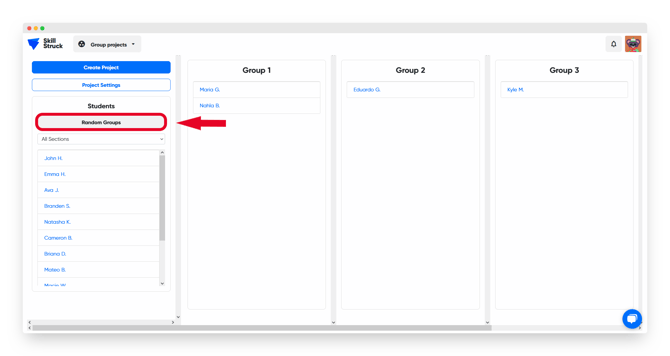
- Click "Create Project" to create and save your project.

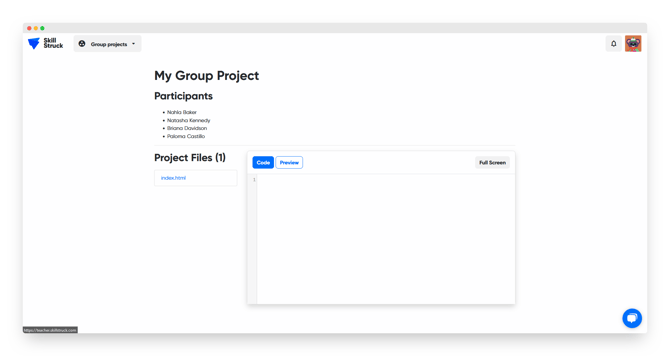
Viewing Project Files
After creating a project, you are able to view each group's files in your Educator Portal.
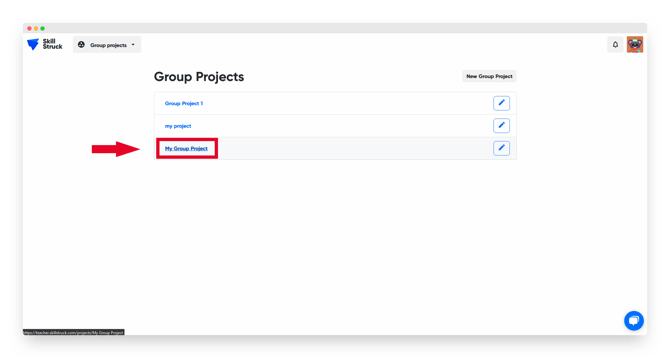
- Navigate to the "Group Projects" section and click the project name you would like to view.
- Click "view" to view a group's files.
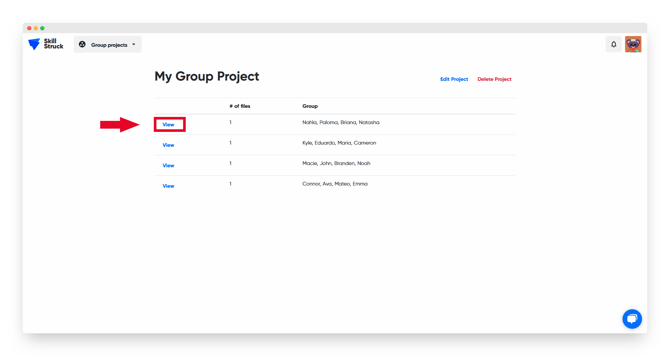
- On this page, you can view all of the group's files and code output.